
Get started with SLB: install and build your first page
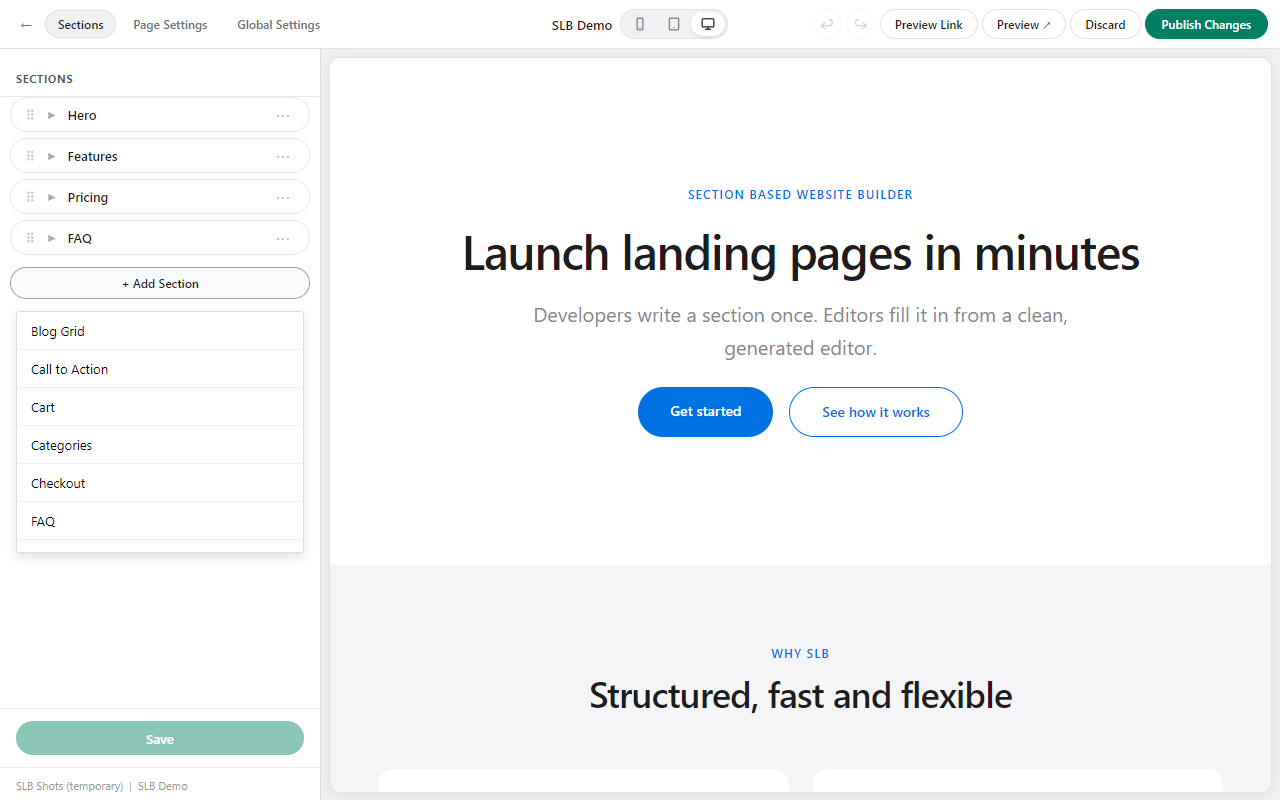
To get started, install and activate SLB, open any page with the Edit with SLB button, add sections, and make sure your theme renders them. In the free edition the theme needs one line of PHP; the paid edition renders automatically.
Requirements
| Free | Paid | |
|---|---|---|
| WordPress | 5.8 or later | 5.8 or later |
| PHP | 7.4 or later | 7.4 or later |
| Tested up to | WordPress 7.1 | WordPress 6.7 |
| WooCommerce | optional | optional |
Free edition
- Install and activate the plugin from the WordPress.org plugin directory, or upload the
slb-section-layout-builderfolder to/wp-content/plugins/and activate it on the Plugins menu. - Go to SLB Editor in the admin menu.
- Open any page, click Edit with SLB, and start adding sections.
- In your theme’s page template, add this line where the page content should appear:
<?php if ( function_exists( 'slbuild_render_page' ) ) { slbuild_render_page(); } ?>For a pre-wired Tailwind CSS environment, install the companion slb-starter theme separately.
Paid edition
The paid edition is supplied as a zip by Rabbit Marketing House and is not on WordPress.org.
- Back up the site first, or work on a staging copy.
- In WordPress go to Plugins > Add New Plugin > Upload Plugin, choose the zip, click Install Now, then Activate Plugin.
- Check that SLB Editor appears in the admin menu, with Settings and Developer Mode under it. At the top of Settings, the Get started checklist shows a green tick for “Plugin active”.
- Optional: next to “Active theme is SLB-compatible”, click Install starter theme, then activate SLB Starter under Appearance > Themes. Activating it replaces your current theme’s look, so try it on a new site or a staging copy first.
SLB renders inside any theme through the the_content filter, so you do not need to edit your theme for pages to display. See theme integration.
Next steps
- Learn the model in How SLB works.
- Write your own sections in Writing a section.
Related: SLB documentation · Getting started · Free vs paid
Last updated